Have you ever paused to reflect on what’s really inside that carton of soya milk you pick up from the grocery store? If so, then you don’t have to worry any more because I’m about to show you how to make yours from scratch with just a bag of soya beans and a blender.
Making your own soya milk allows for complete control over ingredients used, making sure there are no preservatives, chemicals or additives, and it’s a lot easier to make from scratch than you might think. plus it’s super cheap compared to store-bought options.
In this blog post, we’ll guide you through the process step-by-step on how to make soya milk at home, ensuring that you have all the knowledge and confidence needed to create your very own batch of soya milk.
But wait, that’s not all! We’ll also delve into the numerous health benefits of soya milk. Plus, we’ll share some precautions to keep in mind during the preparation process. Trust me, after trying out this homemade version of soy milk, you’ll surely say goodbye to store-bought ones for good!
What Is Soy Milk?
Soy milk, also known as soya milk, is a plant-based alternative to cow’s milk that has been around for centuries. It is made from soybeans and has become a popular alternative to dairy milk for those who are lactose intolerant or follow a vegan diet.
Read Also: Can You Take Collagen While Trying to Conceive?
What sets soy milk apart from other non-dairy milks is its high protein content. It provides all nine essential amino acids that our bodies need, making it a complete source of protein. This makes it an excellent option for vegetarians and vegans who may struggle to meet their protein needs.
It is also a good source of fibre and it’s packed with vitamins and minerals such as calcium, vitamin D, iron, and potassium. Soy milk also contains low cholesterol and saturated fat found in cow’s milk. It can be enjoyed plain, or used in a variety of recipes, such as smoothies, cereals, and coffees.
Ingredients/Supplies Needed to Create Your Own Soya Milk at Home
When it comes to making soya milk at home, having the right ingredients and supplies are essential. Here’s a breakdown of what you’ll need to create your own delicious and nutritious batch of soya milk:
- A cup of Soybeans (opt for organic, non-GMO beans for the best results)
- Filtered or distilled water (this ensure a pure taste in your homemade soya milk)
- Sweetener (such as sugar or agave syrup)
- Flavourings (optional)
Supplies or Equipment Needed
- Pot (should be fairly big and deep enough to hold up to 5 cups of soya beans milk)
- A Blender
- A Sieve
- Cheese cloth or the muslin cloth (will be used to strain the mixture of its liquid)
- Numerous bowls
- Wooden spoon or spatula for stirring
- Bottled glass jar for holding the finished product
Now that you know what ingredients and equipment are needed, let’s move on to the step-by-step instructions on how to make soya milk at home! Stay tuned!
Step-By-Step Instructions on How to Make Soya Milk
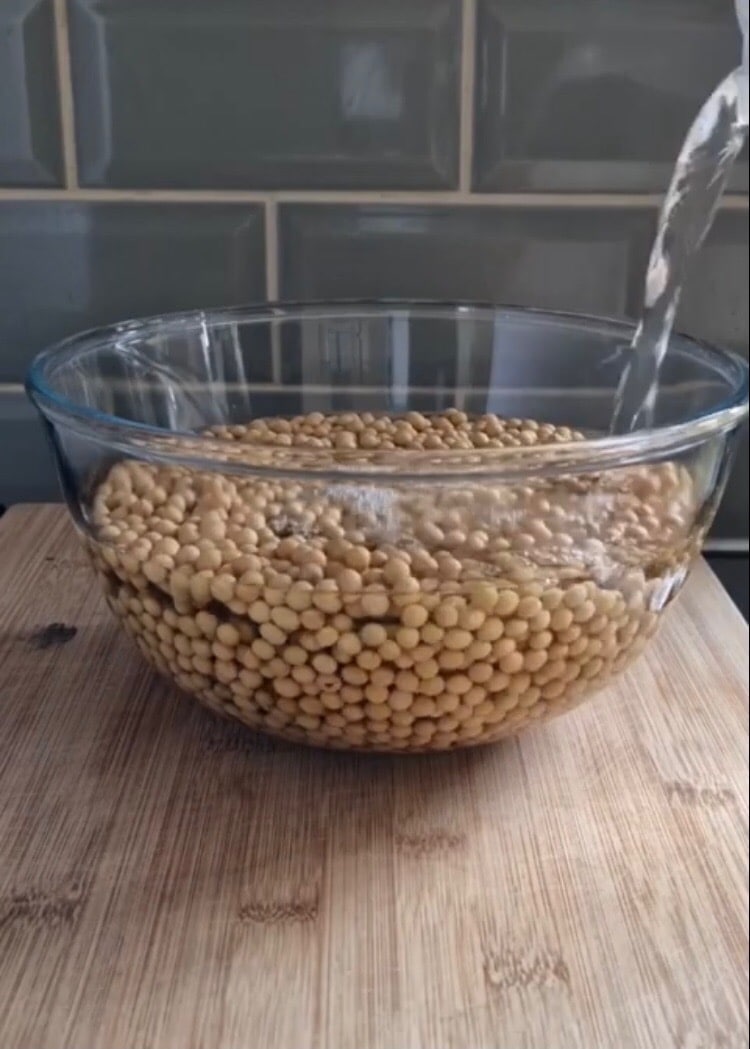
Step 1: Soak the soya beans

Start by soaking one cup of dried soya beans in water overnight or for at least 8 hours. This process helps to soften the beans and makes them easier to blend.
Step 2: Blend the soaked soya beans

After soaking, drain the water from the soya beans and rinse them thoroughly to remove any dirt or contaminant present. Transfer the rinsed beans to a blender and add three cups of filtered water. Blend on high speed for about two minutes until you get a smooth mixture.
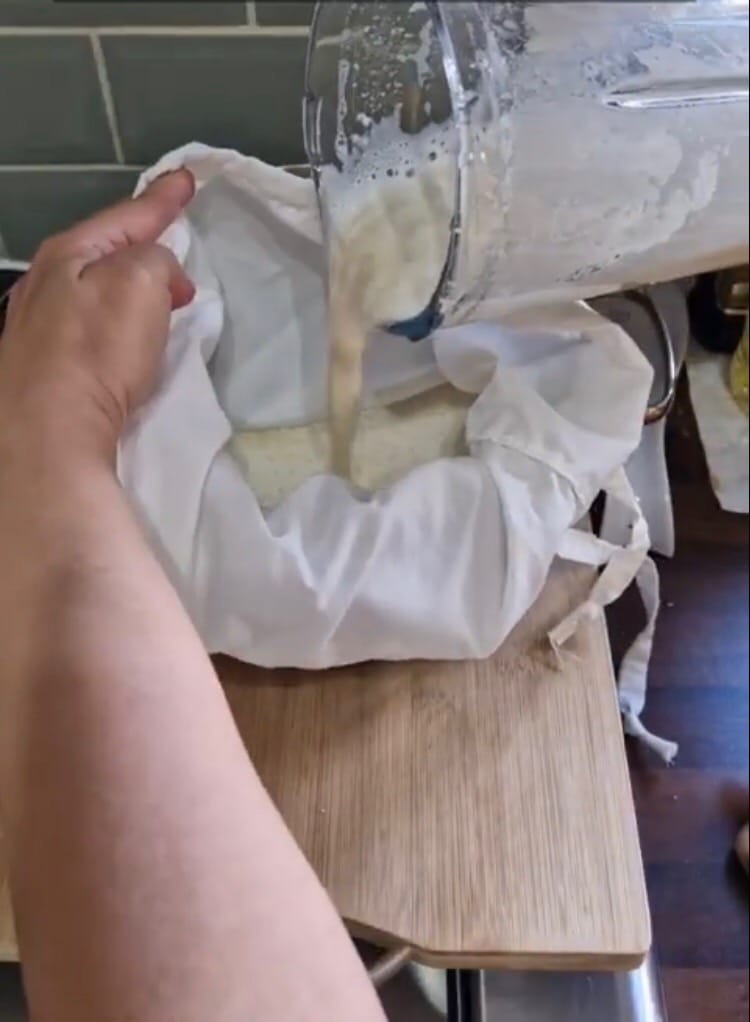
Step 3: Strain the blended mixture

Place a cheesecloth or nut milk bag over a large bowl or jug. Pour the blended mixture into it, allowing all of the liquid to pass through while retaining any solids.
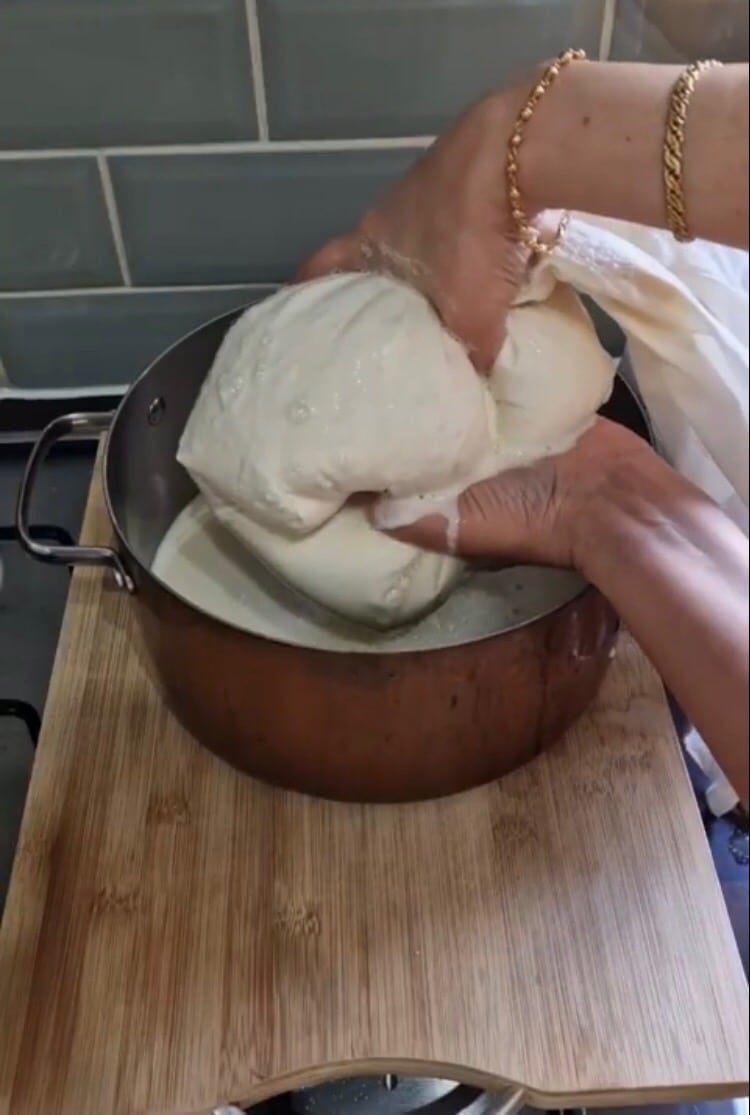
Step 4: Squeeze out excess liquid

Once most of the liquid has passed through, gather up the edges of your cheesecloth or nut milk bag and squeeze out any remaining liquid. Be sure to extract as much milk as possible.
Step 5: Heat the milk

Pour the strained liquid into a large and deep pot and bring it to a gentle boil over a medium heat. Stir continuously using your wooden spoon or spatula to prevent the milk from sticking at the bottom. This step is important as you can consume legumes raw.
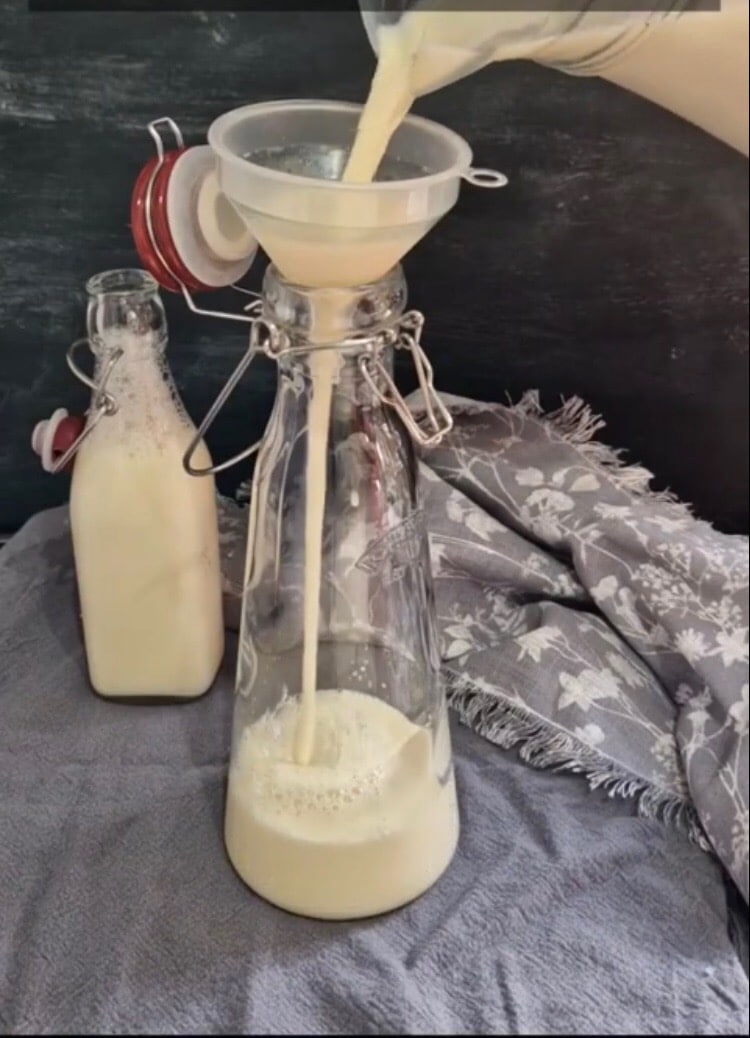
Step 6: Cool down & refrigerate

Allow your freshly made soya milk to cool down completely before transferring it into an air-tight container or bottled jar for storage in the refrigerator
And that’s it! Your homemade soya milk is now ready to be enjoyed. By following these simple steps, you can enjoy homemade soya milk that is free from additives and preservatives found in store-bought versions while having full control over its taste and quality!
Health Benefits of Soya Milk
Soya milk is not only a delicious alternative to traditional dairy milk, but it also offers several health benefits.
- Rich in Protein: Soya milk is rich in protein, making it an excellent choice for individuals following a vegetarian or vegan diet. It contains all the essential amino acids that our bodies need for optimal functioning.
- Heart Health: Regular consumption of soya milk has been linked to a reduced risk of heart disease. It contains no cholesterol or saturated fat, which can clog arteries and increase the risk of cardiovascular diseases such as high blood pressure and stroke.
- Bone Strength: Soya milk is an excellent source of calcium, making it beneficial for bone health. Calcium helps strengthen teeth and bones and also prevents conditions like osteoporosis (a medical condition in which the bone becomes fragile due to loss of tissue).
- Hormonal Balance: Phytoestrogens found in soya milk mimic the effects of oestrogen in the body, helping to regulate hormone levels during different stages of life such as menopause.
- Digestive Health: The high fibre content in soya milk promotes healthy digestion by preventing constipation and supporting gut health.
- Anti-Cancer Properties: Research suggests that consuming soya products may have potential anti-cancer properties due to their high levels of antioxidants called phytoestrogens
Precautions to Take When Making Soya Milk
While making soya milk at home is relatively simple and straightforward, there are some precautions you should take to ensure its safety and quality. Here are five precautions you need to take:
- Choose high-quality soybeans: Start with fresh, good quality soybeans from a reputed source. Look for organic or non-GMO options to avoid any potential health risks associated with genetically modified crops.
- Soak and rinse the soybeans thoroughly: Before blending, make sure to soak the beans overnight in water. This helps remove any impurities and makes them easier to blend into a smooth paste. Rinse the soaked beans well before blending.
- Cook the milk properly: Boiling the soya milk properly is crucial as it helps eliminate harmful bacteria and enzymes naturally present in raw soy products that can cause digestive issues.
- Strain carefully: Use a fine-mesh strainer or cheesecloth to strain out solids after boiling the mixture of ground beans and water until frothy.
- Store correctly: Homemade soya milk has a shorter shelf life compared to store-bought varieties due to its lack of preservatives. Refrigerate promptly and consume within 3-4 days.
Read Also: Everything You Need To Know On How To Make Soya Beans Powder
By following these precautions, you can enjoy freshly made soya milk without compromising on safety or taste!
[bwla_faq faq_topics=”faqs-about-homemade-soya-milk” orderby=”date” order=”ASC” sbox=”0″ list=”1″ /]Takeaway
In a world where people are becoming more health-conscious and environmentally aware, making soya milk at home is a fantastic option. Not only is it easy to make, but it also offers numerous health benefits that can improve your overall well-being.
By following the step-by-step instructions outlined in this guide on how to make soya milk at home, you can enjoy fresh and delicious soya milk right from the comfort of your own kitchen while also saving yourself some money and having complete control over what goes into your drink.

